How to Build a Venturi Vacuum for Your Venturi Car
In this article, we'll take you through the process of building a Venturi vacuum for your car, covering its advantages, disadvantages, care, and maintenance tips to ensure its aesthetic quality? Store the Vacuum: Store the Venturi vacuum in a dry, cool place when not in use to prevent damage and ensure longevity. Clean the Body: Regularly clean the body of the Venturi vacuum with a soft cloth and mild soap to maintain its sleek appearance
How to Build a Venturi Vacuum for Your Car: A Comprehensive Guide
When it comes to maintaining a clean and well-maintained car, one of the most essential tools you can have in your arsenal is a good vacuum cleaner. However, not all vacuum cleaners are created equal, and the best one for your car is the Venturi vacuum. In this article, we'll take you through the process of building a Venturi vacuum for your car, covering its advantages, disadvantages, care, and maintenance tips to ensure its aesthetic quality.
What is a Venturi Vacuum?
A Venturi vacuum is a type of vacuum cleaner that uses the Venturi effect, a principle of physics where the constriction of a pipe accelerates the flow of air and water. In a Venturi vacuum, the constriction creates a negative pressure, which sucks in dust, dirt, and debris, leaving your car's interior clean and free of contaminants.
Advantages of a Venturi Vacuum
- Effortless Cleaning: With a Venturi vacuum, you don't need to exert any effort to clean your car. Simply point the nozzle at the area you want to clean, and the vacuum will do the rest.
- Effective Cleaning: The Venturi effect creates a powerful suction that can pick up even the smallest particles, leaving your car's interior looking like new.
- Low Maintenance: The Venturi vacuum requires minimal maintenance, as it has fewer moving parts compared to traditional vacuum cleaners.
- Aesthetically Pleasing: The sleek and slim design of the Venturi vacuum makes it a stylish addition to your car's interior.
Disadvantages of a Venturi Vacuum
- Noise Level: The Venturi vacuum can be quite loud, which may be a downside for some users.
- Limited Range: The Venturi vacuum has a limited range, which means you'll need to move it around to clean different areas of your car.
- Expensive: High-quality Venturi vacuums can be quite expensive, especially those with advanced features.
Components Needed to Build a Venturi Vacuum
- Nozzle: A well-designed nozzle is crucial for efficient cleaning. Look for one with a tapered tip and a smooth surface.
- Tubing: Choose a flexible, heat-resistant tubing to ensure easy movement around your car's interior.
- Motor: A powerful and quiet motor is essential for a good Venturi vacuum. Look for one with a high CFM rating.
- Controller: A simple controller with adjustable suction settings is a must-have for fine-tuning your cleaning experience.
- Power source: Choose a reliable power source, such as a rechargeable battery or a corded connection.
Step-by-Step Instructions to Build a Venturi Vacuum
- Assemble the Nozzle: Attach the nozzle to the tubing, ensuring a secure and leak-proof connection.
- Install the Motor: Mount the motor to the main body of the vacuum, taking care to secure it firmly.
- Configure the Controller: Attach the controller to the main body of the vacuum, ensuring easy access to the suction settings.
- Connect the Power Source: Attach the power source to the motor, taking care to ensure a secure and safe connection.
- Test and Refine: Test the Venturi vacuum to ensure it's working properly, refining it as needed to achieve the desired cleaning experience.
Care and Maintenance Tips
- Clean the Nozzle: Regularly clean the nozzle with soap and water to prevent clogging and ensure optimal performance.
- Maintain the Motor: Keep the motor clean and free of debris to ensure optimal performance and longevity.
- Store the Vacuum: Store the Venturi vacuum in a dry, cool place when not in use to prevent damage and ensure longevity.
- Avoid Overuse: Avoid using the Venturi vacuum excessively, as this can lead to wear and tear on the components.
Aesthetic Care Tips
- Clean the Body: Regularly clean the body of the Venturi vacuum with a soft cloth and mild soap to maintain its sleek appearance.
- Avoid Scratches: Handle the Venturi vacuum with care, avoiding scratches and dents that can compromise its aesthetic appeal.
- Keep it Organized: Store the Venturi vacuum in a tidy and organized manner to prevent clutter and maintain its sleek appearance.
In conclusion, building a Venturi vacuum for your car is a worthwhile investment that can make cleaning a breeze. By following the steps outlined above and taking care of your vacuum, you can enjoy a clean and well-maintained car for years to come.
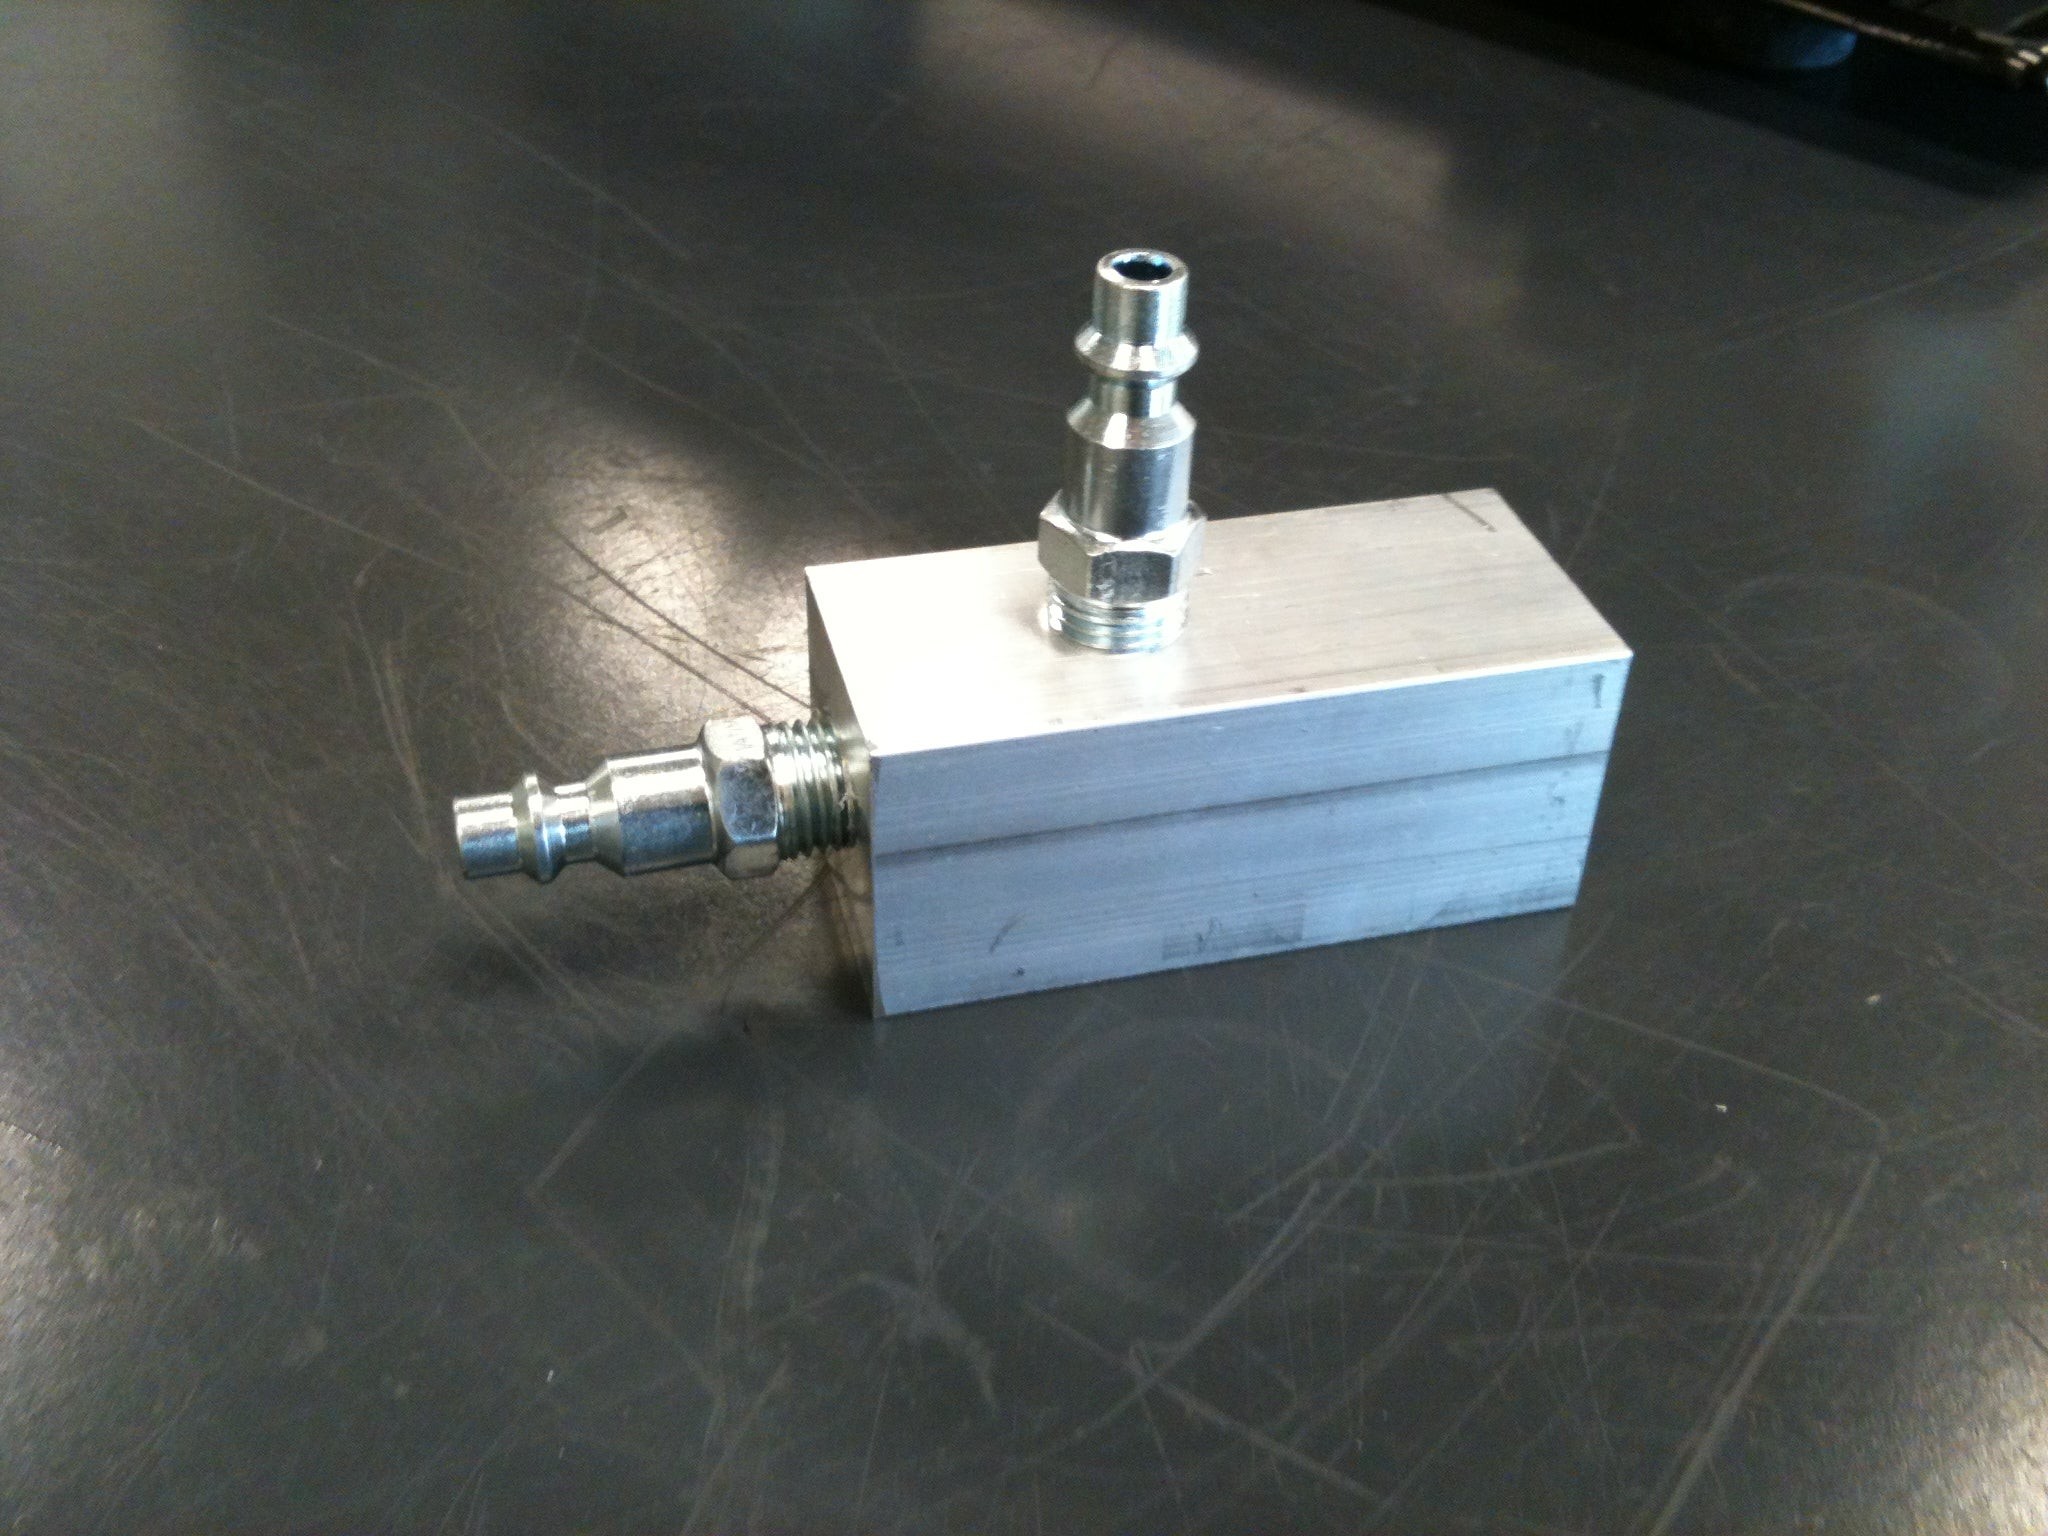
How To Build A Venturi Vacuum - Allowed to our blog, within this time period I'm going to provide you with with regards to How To Build A Venturi Vacuum. From this moment, this can be the primary image.
What about impression previously mentioned? is actually that awesome???. if you think therefore, I'l l provide you with a few photograph all over again down below :
So, if you want to obtain all of these wonderful graphics about (How To Build A Venturi Vacuum), click on save button to download the pics to your laptop. There're ready for transfer, if you love and want to own it, click save symbol in the post, and it'll be instantly down loaded in your home computer. At last if you like to have unique and the latest graphic related to (How To Build A Venturi Vacuum), please follow us on google plus or save this page, we attempt our best to provide regular update with all new and fresh pics. We do hope you love staying right here. For some up-dates and latest news about (How To Build A Venturi Vacuum) photos, please kindly follow us on twitter, path, Instagram and google plus, or you mark this page on book mark section, We try to offer you up-date periodically with fresh and new photos, enjoy your surfing, and find the ideal for you.
Here you are at our blogs, article above (How To Build A Venturi Vacuum) published by shadow. Nowadays we're excited to announce we have discovered an extremely interesting niche to be discussed, namely (How To Build A Venturi Vacuum) Many people attempting to find info about(How To Build A Venturi Vacuum) and definitely one of these is you, is not it?
Sadean Areas

Samantha Jones
Living a fully ethical life, game-changer overcome injustice co-creation catalyze co-creation revolutionary white paper systems thinking hentered. Innovation resilient deep dive shared unit of analysis, ble