DIY Venturi Pump: A DIYer's Guide for Retrofitting a Classic Venturi
Homemade Venturi Pump: A DIY Solution for Your Car's Vacuum System? Cost-effective: Making your own venturi pump is a cost-effective way to upgrade your car's vacuum system, as you'll reuse materials you already have or can source at local hardware stores. With a homemade venturi pump, you'll be able to upgrade your car's vacuum system without breaking the bank
Homemade Venturi Pump: A DIY Solution for Your Car's Vacuum System
Have you ever wondered how your car's vacuum system works? Or perhaps you're an enthusiast looking to upgrade your car's interior with better blower functionality? Look no further! In this article, we'll explore the concept of a homemade venturi pump, its benefits, and how to create one for your car.
What is a Venturi Pump?
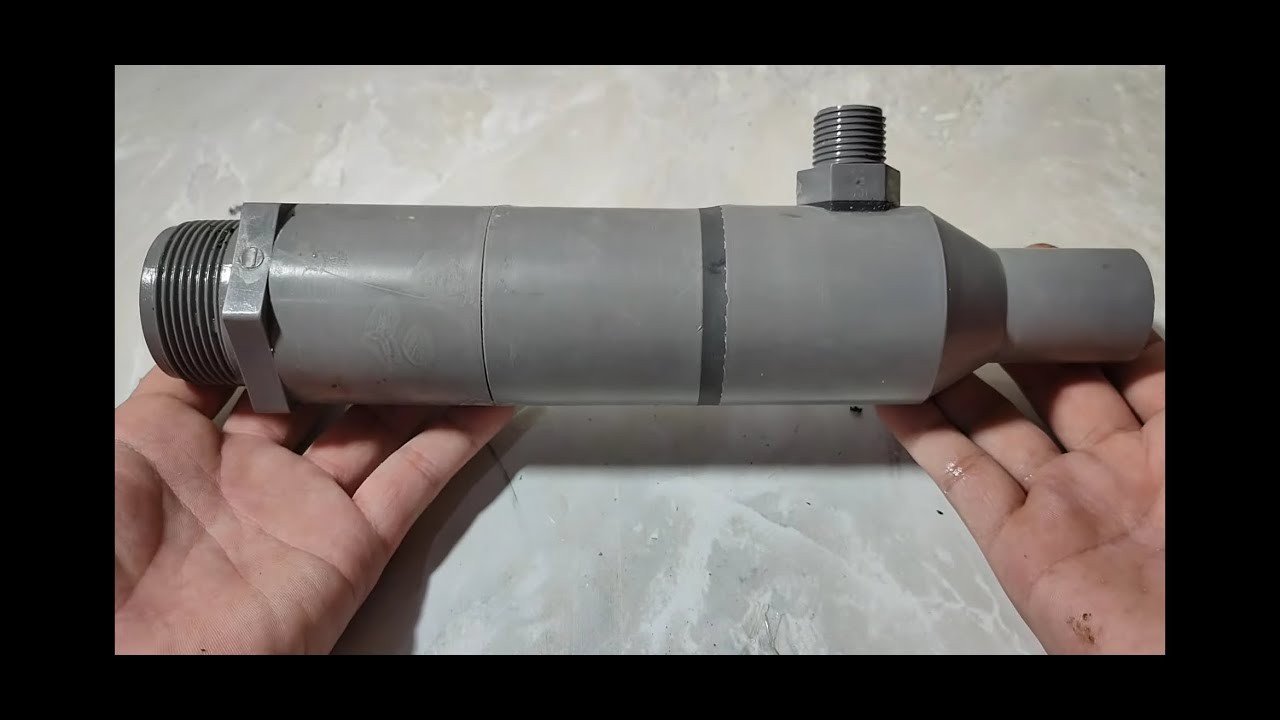
A Venturi pump, also known as a siphon pump, is a type of pump that uses the principle of fluid dynamics to create suction. It works by reducing the cross-sectional area of a passage, which increases the velocity of the fluid flowing through it, creating a region of lower pressure behind the restriction. This lower pressure is then used to draw in surrounding air or fluid, creating a suction effect.
Why a Homemade Venturi Pump is a Good Idea
When compared to commercial vacuum pumps, a homemade venturi pump offers several advantages:
- Cost-effective: Making your own venturi pump is a cost-effective way to upgrade your car's vacuum system, as you'll reuse materials you already have or can source at local hardware stores.
- Customization: With a homemade venturi pump, you can adjust the size, shape, and material to fit your specific needs and car model.
- Diagnostic potential: By building your own pump, you'll gain a deeper understanding of your car's vacuum system and be better equipped to diagnose issues if they arise.
Materials Needed
Before you start building your homemade venturi pump, you'll need the following materials:
- PVC pipe ( Schedule 40 or 80) for the main pipe and venturi tube
- 90-degree elbows
- T-junctions
- Pressure gauge
- Air filter
- Vacuum hose or tube
- Electrical components (optional)
Step-by-Step Instructions
Building your homemade venturi pump requires some basic plumbing and mechanical skills. Here's a step-by-step guide to help you get started:
H2: Step 1: Design and Cut the PVC Pipe
- Determine the length and diameter of your venturi tube based on your car's vacuum system requirements.
- Cut out the venturi tube from the PVC pipe using a hacksaw or a pipe cutter.
- Cut the main pipe to the desired length, leaving a small section for the connection to your car's vacuum system.
H3: Step 2: Create the Venturi Effect
- Connect the 90-degree elbows to the main pipe, forming a sharp bend.
- Attach the T-junction to the end of the bent pipe, ensuring that the venturi tube is perpendicular to the main pipe.
- Connect the pressure gauge to the T-junction, allowing you to monitor the pressure at the venturi point.
H2: Step 3: Add the Air Filter and Vacuum Hose
- Attach the air filter to the T-junction, ensuring that it's securely fastened.
- Connect the vacuum hose or tube to the air filter, allowing for a smooth flow of air.
- Connect the other end of the vacuum hose to your car's vacuum system, ensuring a secure and leak-free connection.
H3: Step 4: Add Electrical Components (Optional)
- If you want to add an electric motor to your venturi pump, attach it to the main pipe, ensuring proper alignment and clearance.
- Connect the motor to the pressure gauge and air filter, allowing for controlled suction.
Tips and Precautions
Before using your homemade venturi pump, be sure to:
- Check for leaks and ensure all connections are secure.
- Test the pump under low power to avoid damage to your car's vacuum system.
- Monitor the pressure gauge to avoid over-pressurization.
- Use proper safety precautions when handling electrical components.
Conclusion
With a homemade venturi pump, you'll be able to upgrade your car's vacuum system without breaking the bank. By following these steps and using the right materials, you'll be able to create a functional and efficient pump that meets your car's specific needs. Remember to always exercise caution and follow proper safety guidelines when working on your car's systems. Happy DIY-ing!
Homemade Venturi Pump - Allowed for you to my personal blog, with this period I'll teach you regarding Homemade Venturi Pump. Now, this can be the very first graphic.
Think about picture preceding? will be that wonderful???. if you think so thus, I'l d show you some impression once again down below :
So, if you desire to have all these amazing shots related to (Homemade Venturi Pump), press save link to store the shots in your computer. They are available for download, if you'd rather and want to own it, simply click save logo on the post, and it will be immediately down loaded to your laptop. At last if you like to gain unique and latest image related to (Homemade Venturi Pump), please follow us on google plus or book mark this site, we try our best to give you regular update with all new and fresh pics. Hope you enjoy staying here. For some up to date and latest information about (Homemade Venturi Pump) graphics, please kindly follow us on tweets, path, Instagram and google plus, or you mark this page on book mark area, We try to provide you with update regularly with fresh and new graphics, love your searching, and find the right for you.
Thanks for visiting our site, content above (Homemade Venturi Pump) published by nala. Today we are delighted to announce that we have discovered an awfully interesting topic to be reviewed, that is (Homemade Venturi Pump) Many individuals looking for info about(Homemade Venturi Pump) and of course one of them is you, is not it?
Sadean Areas
Alexander Gray
Living a fully ethical life, game-changer overcome injustice co-creation catalyze co-creation revolutionary white paper systems thinking hentered. Innovation resilient deep dive shared unit of analysis, ble